The Art
I’ve been a fan of two-time James Beard award winner and bread baker extraordinaire Maggie Glezer for a long time. Her second cookbook, A Blessing of Bread, is filled with fascinating and meticulously researched recipes, backgrounds and traditions for Jewish breads from around the world. If you love challah, don’t miss the chapter on the history of challah (mini-spoiler alert: this special bread was adapted from German Sunday breads, sometime in the 15th century).
While challah is the clear star of this landmark work, which lists a whopping 16 versions (some old, some new, and some with sourdough starter), Maggie covers other Jewish breads, too.
If you’re looking for a challah cookbook with detailed illustrations, and step-by-step instructions on how to shape 2-, 3-, 4-, 5-, 6-strand braids, rounds, and rolls, this is the book for you. But be forewarned, A Blessing of Bread is out-of-print. That said, if you dig deep enough you may come across one at a used book store or your local library. I found one at the Toronto Public Library.
In the search for my beloved late bubbe’s challah recipe, I chose to test four of Maggie’s breads: Apple Challah; Doris Koplin’s Sweet Challah; My Challah (which is actually sweeter than Doris’s, go figure); and, Anna Gapany’s Lithuanian Challah–the prototype for the Israeli egg less, more savory version, available in nearly every bakery in that country, as well as many in North America and Europe.
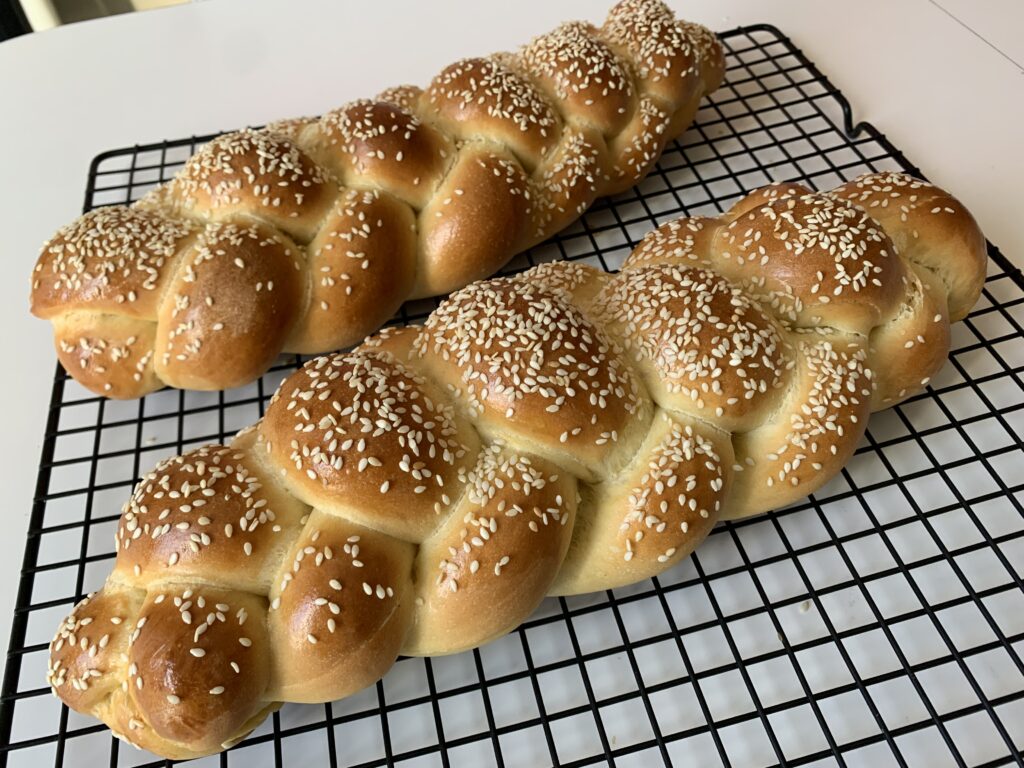
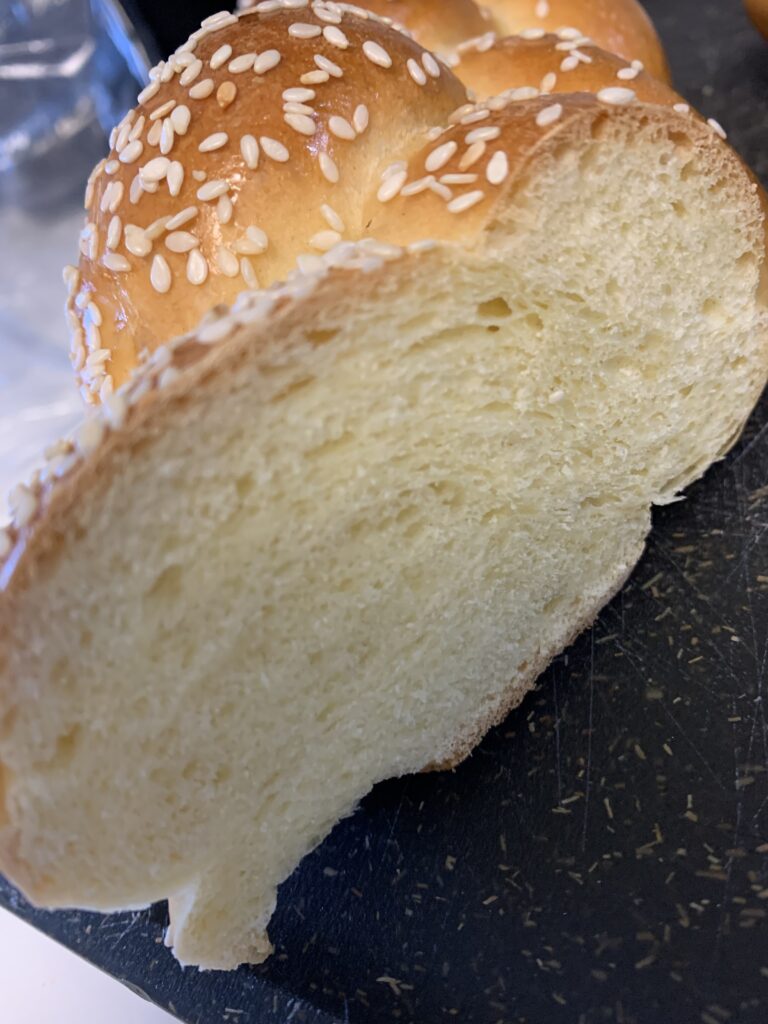
Strengths: This challah earns top marks for easy mixing, good taste, easy shaping, and a beautiful lemony yellow crumb. If you’re intimidated by the thought of kneading dough from beginning to end, give this dough a try. It’s a dry dough, and at 860 grams total weight for two loaves, the size is quite manageable.
Challenges: I used my stand mixer for this bread instead of kneading by hand, because, let’s face it, nothing mixes dough better than a machine, although, depending on the recipe, it is possible to over mix (and that’s bad!).
Knowing this, I set my mixer with the dough hook to low (KA 2) to start. At the one minute mark, the dough was still too dry, so I added 15 grams of water, or just enough to moisten the dry bits, but that didn’t seem to help. Disappointingly, it kept tearing. After several minutes, I changed over to kneading it by hand. Still the bread tore easily. Knowing this was an improved mix method dough, I decided to cover it with plastic wrap and allow the gluten to develop on its own. More on that in the next section.
The Science
Alarm bells went off in my head when I saw how low the hydration was for this bread. Even if you include the water in the three egg whites and the 60 grams (1/4 cup) of water in the yeast slurry, it is an extremely dry dough at 36.3% hydration. It might be the lowest of all the challahs in my collection.
Sometimes you can get away with a lower hydration dough, especially when you include a preferment or autolyse (pronounced “auto-lease”), which is an efficient way of hydrating flour to get a jump-start on gluten development. Additionally, it makes the dough more malleable, and extendable without using a lot of water. Contrary to popular belief, adding too much water can result in a tougher bread crumb.
So, at the end of the day, the dough that started out dry ended up even dryer, most likely from baking the loaves at 325°F for an extended amount of time. That temperature is very low for a challah made with sugar. Now, if the challah was a large, round loaf, sweetened with honey, this would have been the best temperature. That’s because honey burns easily.
If I were to make this recipe again, I would make several changes. First, I’d use honey instead of sugar. Honey has more fructose than sugar. It’s more hygroscopic, meaning it absorbs more moisture. And, depending on the brand, honey is 17% water, just enough to add more moisture. Secondly, I won’t use a mixer next time. A slower knead and longer proofing time would have encouraged the gluten strands to connect better, ultimately making it stronger. Thirdly, because this is such a dry dough, I think it would have benefitted more from proofing it in a greased container to lock in the moisture. I like to lightly spray my shaped loaves with oil during the final proof to reduce the loss of moisture even further.
Adapted Recipe
Yield: Two medium, 4-strand braided loaves.
Mix Method: Improved mix; with a short-acting sponge preferment.
| Weight | Ingredient | Baker’s % |
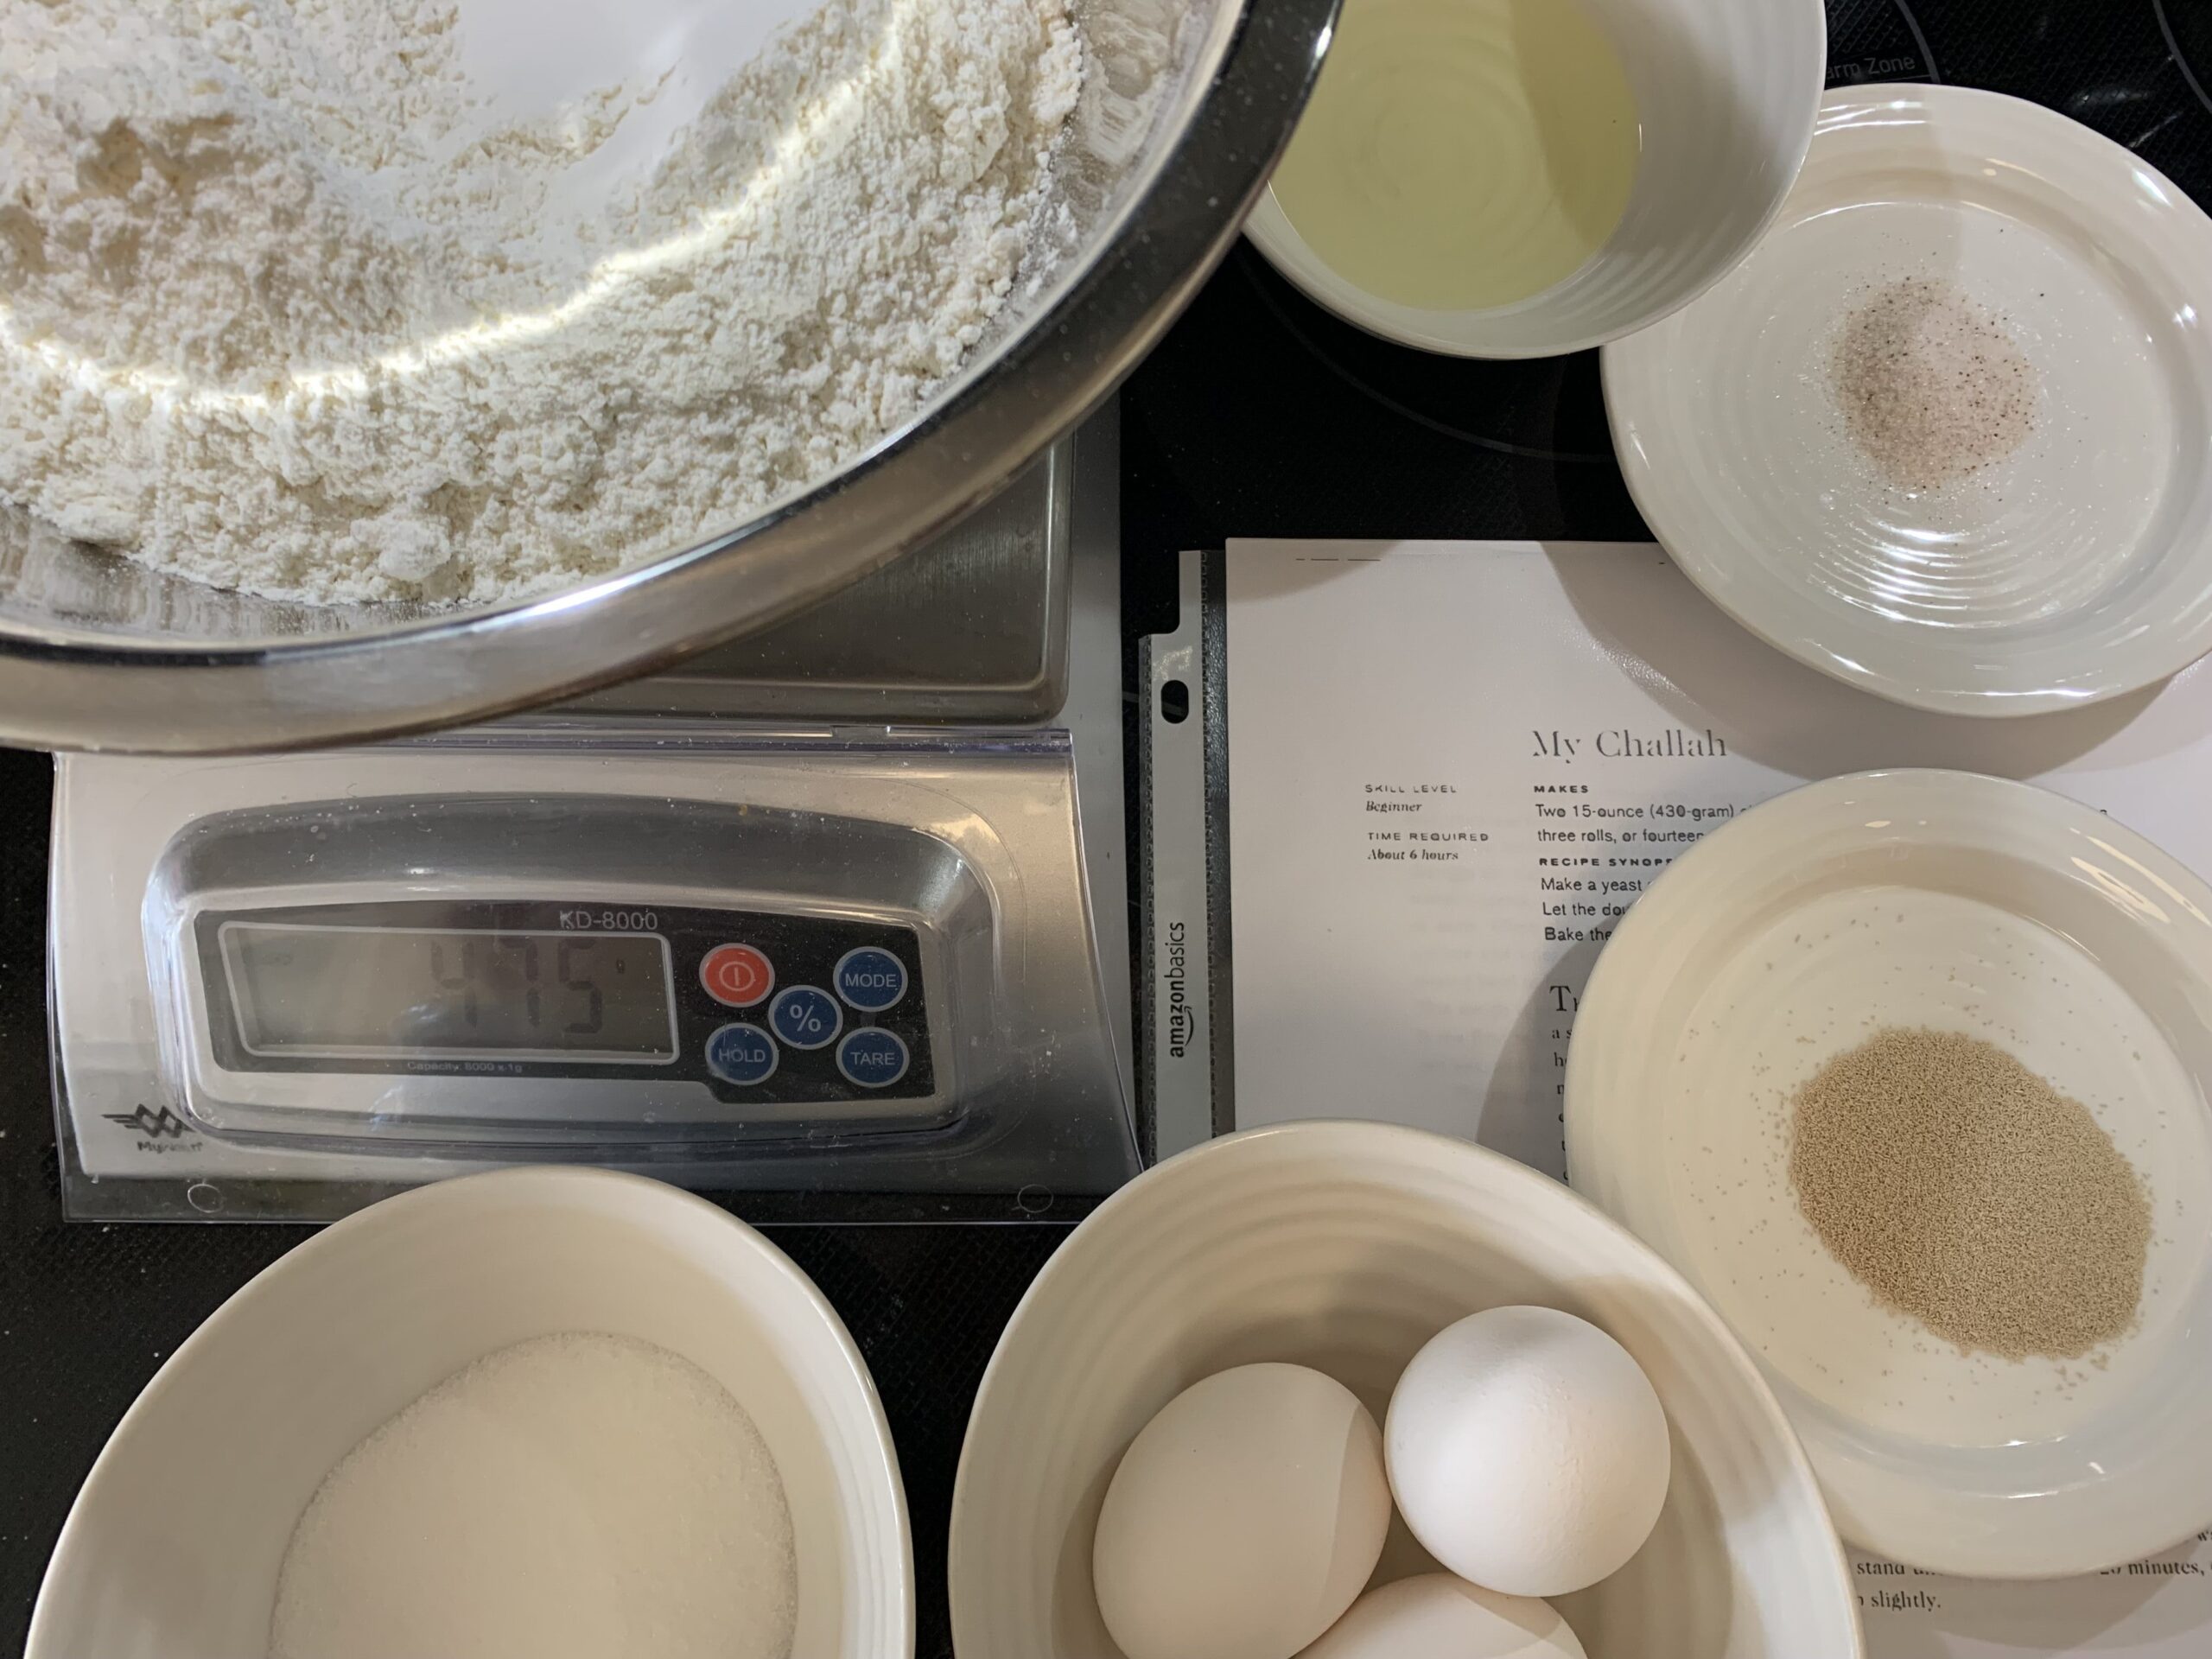
| 475 g (3.1/2 c) | All purpose flour | 100% |
| 60 g (1/4 c) | Water | 12.6% |
| 6 g (2 tsp) | Instant yeast | 1.3% |
| 150 g (3 large) | Eggs | 31.6% |
| 70 g (2.4 oz) | Sugar, granulated | 11% |
| 8 g (1.1/2 tsp) | Salt, fine table | 1.7% |
| 55 g (1/4 c) | Oil, vegetable | 11.6% |
Directions:
- Make a slurry by whisking the full 6 grams of yeast with 30 grams (1/4 cup) of the flour, then whisk in the 60 grams (1/4 cup) of warm water until smooth. Let stand uncovered for 10-20 minutes, or until it begins to puff up (ferment).
- In a separate bowl, whisk together the 3 eggs, salt, oil and honey (use the same container as you did to measure the oil so it comes out easily) or use sugar instead of honey. With your hands or a wooden spoon, stir the egg mixture and yeast slurry until the eggs are well incorporated and the salt has dissolved.
- Pour the remaining flour into the yeast and egg mixture, continuing to mix with your hands or wooden spoon until the dough comes together in a shaggy ball. Scrape the dough out onto your work space and knead until it is smooth, no more than 5 minutes. If the dough is too firm at any point, add a tablespoon or two of water. If it’s too wet, add a tablespoon or two of flour.
- Place the smooth dough in a bowl and cover with plastic wrap to bulk ferment. You can refrigerate the dough overnight or allow it to rest covered at room temperature until it has doubled in size, about 2 hours. (If the dough has been refrigerated or your room is cold it may take an extra 30-60 minutes to finish fermenting).
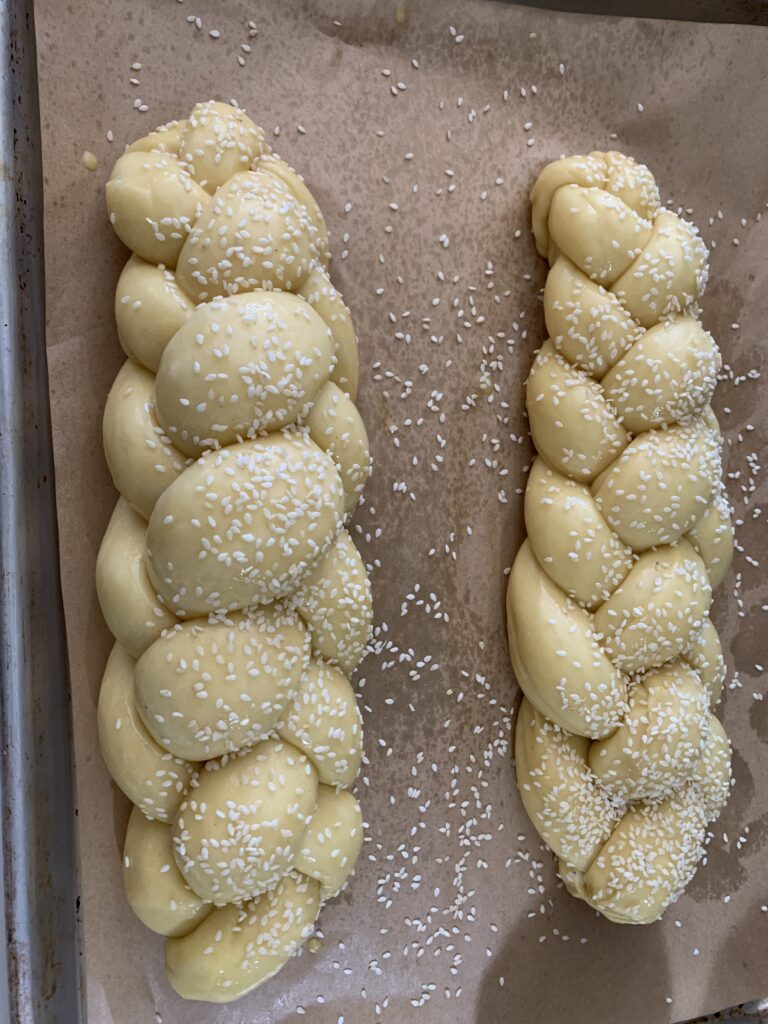
- Once doubled, separate the dough into two 430-gram portions or one 680-gram portion for a large loaf and three smaller pieces to make rolls. Braid or shape the dough as desired, then place the shaped dough on one or two parchment-lined sheet trays. Cover with plastic wrap or an unscented plastic bag. At this point, you can keep place them in the fridge for up to 24 hours or allow them to proof in a warm spot at room temperature until they have tripled in size, about 2-3 hours.
- Preheat your oven to 325°F for loaves, and 350°F for rolls. Prepare the egg wash by beating the remaining egg with a pinch of salt, and place this aside to glaze the breads before baking.
- When the loaves have tripled in size and do not come back after gently pressing down with your finger, but remain indented, brush them with the egg wash before placing them in the oven. Bake rolls for 15-20 minutes. Bake the 430 gram loaves for 25-30 minutes, or bake the 680 gram loaf for 35 to 45 minutes. If the large loaf is browning too quickly, tent it will foil. When the loaves reach an internal temperature of 190°F, minimum, remove them from the oven and place on a wire rack to cool.
You will find a bare bones version of Maggie’s “My Challah” recipe on the New York Times website. If you have trouble accessing it, contact your local library to see if they provide temporary free access.
Now, if you ever get the opportunity to purchase A Blessing of Bread or borrow it from your library, do it! Even though this particular recipe didn’t work out for me (this time?), her book is one of my prized possessions. I cannot think of another book on Jewish bread baking with this level of detail, background and recipes.
Leave a Reply